How to Add Fonts to Cricut Design Space
Did you know that you can use ANY font with your Cricut Explore, Maker or Joy machine?!
Sometimes the thing that really takes a craft project to the next level is something as simple as having the perfect font! Not only is it super easy to add fonts to Cricut Design Space, but it’s a great way to really customize your craft projects!
Download a Font to Your Computer
The first thing you need to do to add fonts to Cricut Design Space is to download the font to your computer. There are a variety of fonts available and many websites give away commercial use fonts for free!
One of my favorite sites for fonts- and PNG and SVG files– is Creative Fabrica. Check out this beautiful Lightning Script font on their site!
Go here to download the Lightning Script font for free!
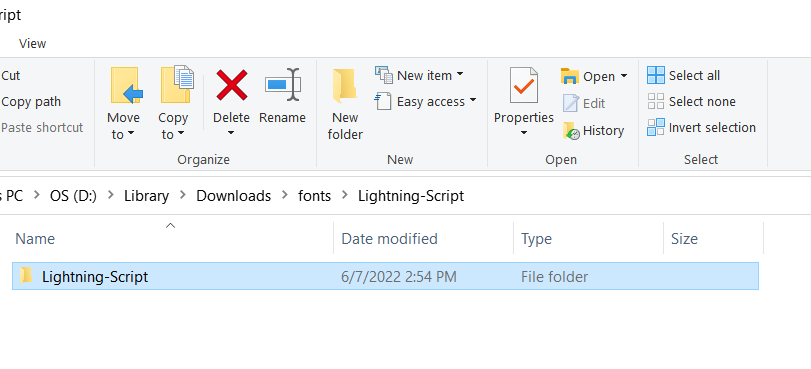
Locate the Font File on Your Computer and Unzip It
Most of the time, fonts come in a zip folder. Locate the font file on your computer- I recommend saving all your fonts in a Fonts folder- and then extract it.
After you’ve extracted the zip file, select the font folder and open it.
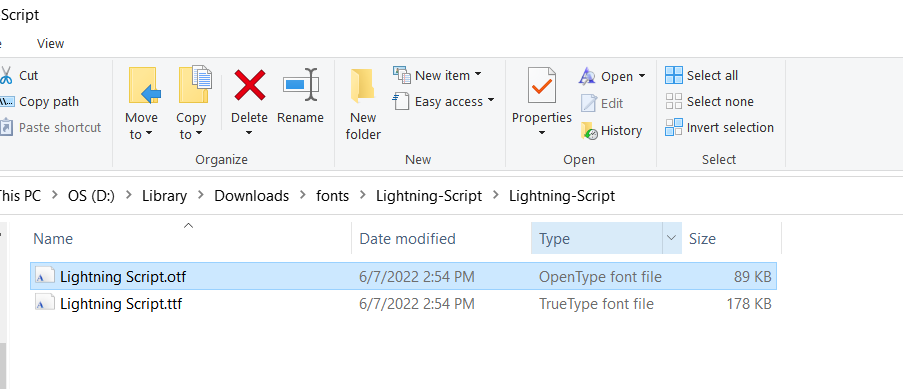
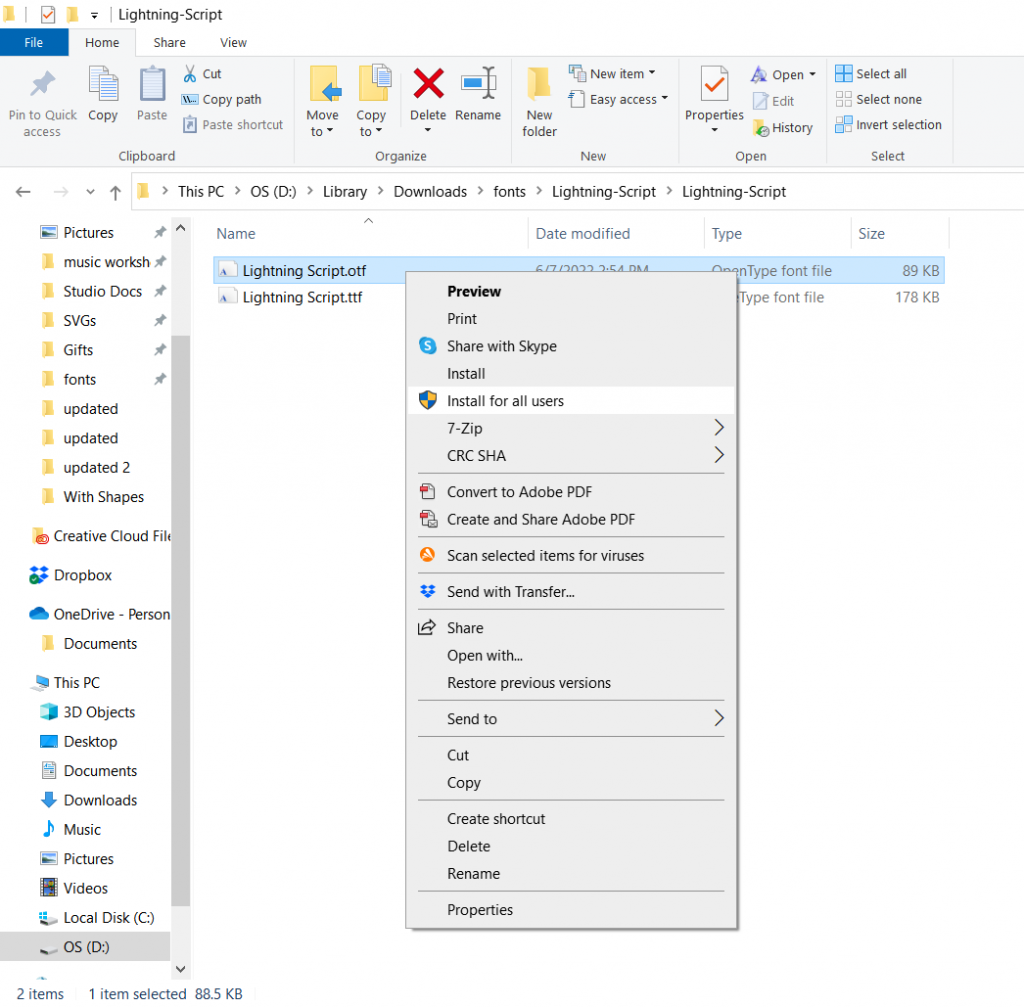
Choose OTF
Sometimes you will have two types of fonts to choose from- TTF and OTF. OTF stands for OpenType Font and TTF stands for TrueType Font. TrueType fonts are designed by Microsoft and Apple and are your basic, normal fonts. Like Arial and Times New Roman, for instance.
OpenType fonts also work like your basic, normal fonts but were designed to support extra characters and embellishments. Ever seen those fancy fonts with the pretty swashes and cute characters? Those are OpenType fonts!
So when given the choice, always choose OTF. However, if OTF is not an option, then select TTF.
Install Your Font
Next, right click on the font, and select either Install or Install For All Users.
And that’s it! Your font is now installed on your computer!
Open a New Project to Add the Font to Cricut Design Space
If Design Space is already open, save your project, close it and then open Design Space again.
Select Text on the left-hand side of the Canvas. Note: This is called the Design Panel!

A text box will then appear on the Design Space Canvas.
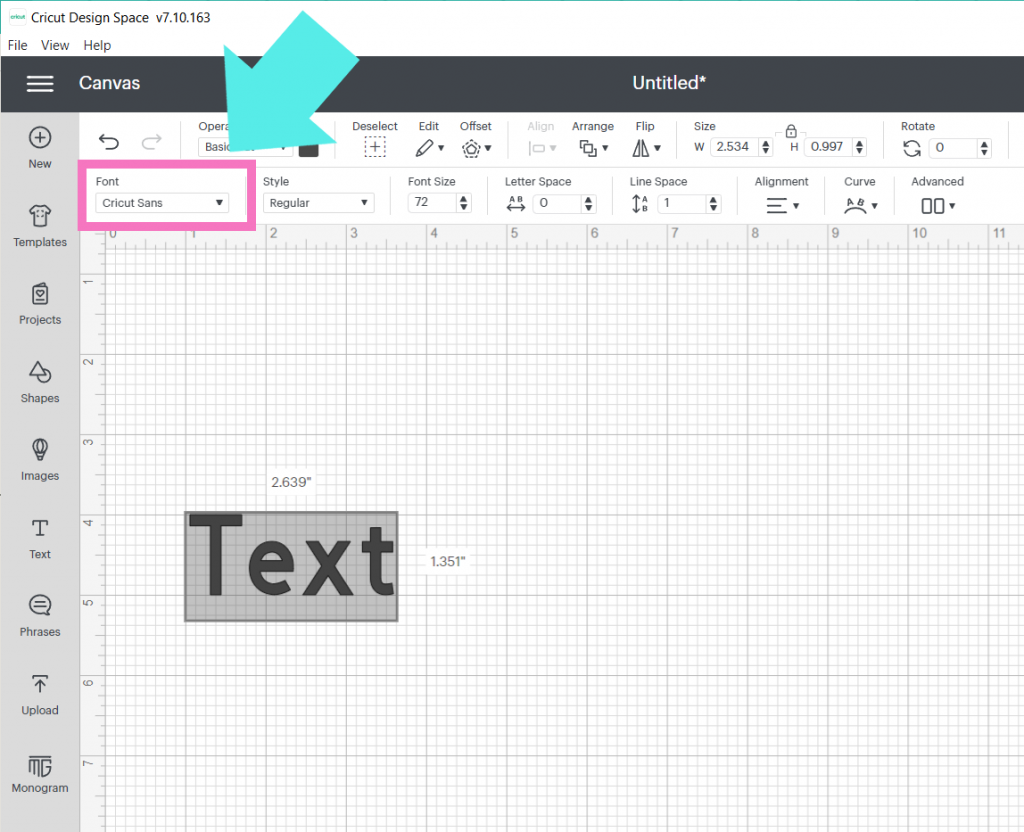
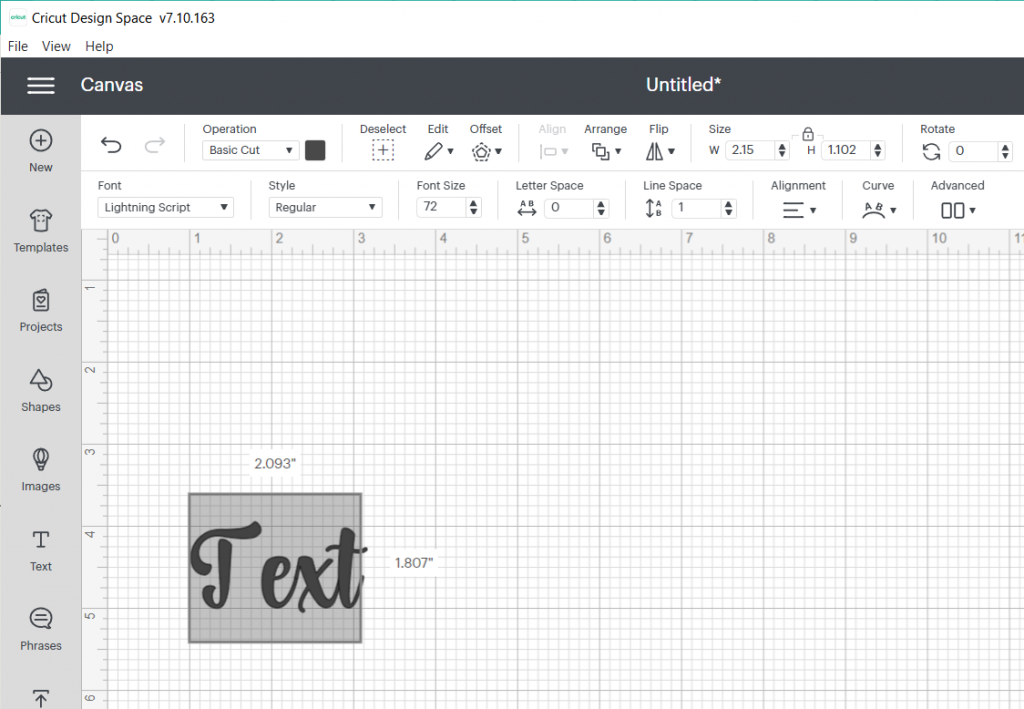
Use the Text Edit Bar to Customize Your Project!
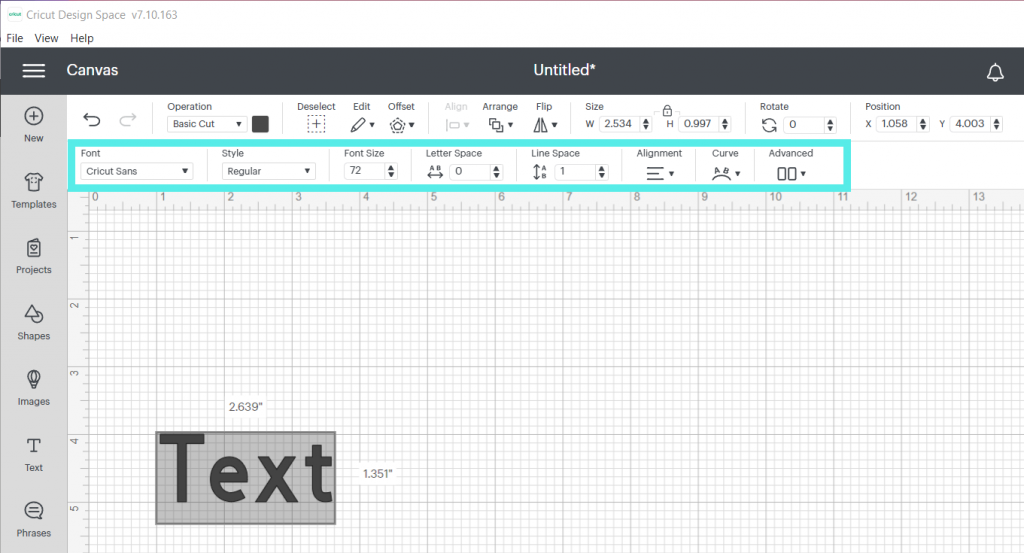
The Text Edit Bar will appear when working with Text in Cricut Design Space. It will remain visible as long as your text is selected. Text Edit Bar disappear? Just click back on your text and it will come back!
Click on Font on the Left-Hand Side of the Text Edit Bar
Click on System To View All Your Installed Fonts
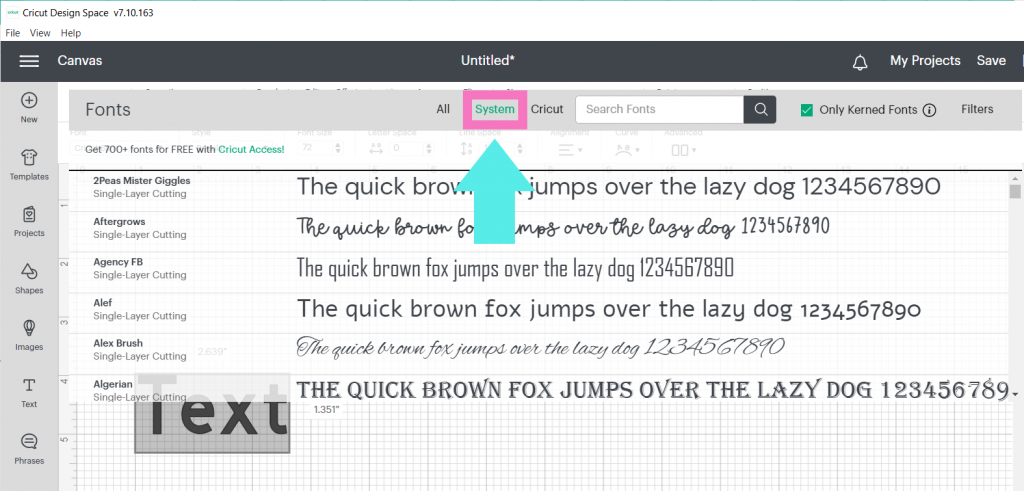
Here, you will see ALL the fonts you have installed on your computer! Once installed, the font is automatically added to Cricut Design Space! Pretty cool, huh? And definitely pretty easy!
Use the Search Bar to Search for a Specific Font
If you know the name of the font you are looking for, simply type it in the search bar! This comes in handy if you have a ton of installed fonts on your computer like me!


And here’s the font we added!
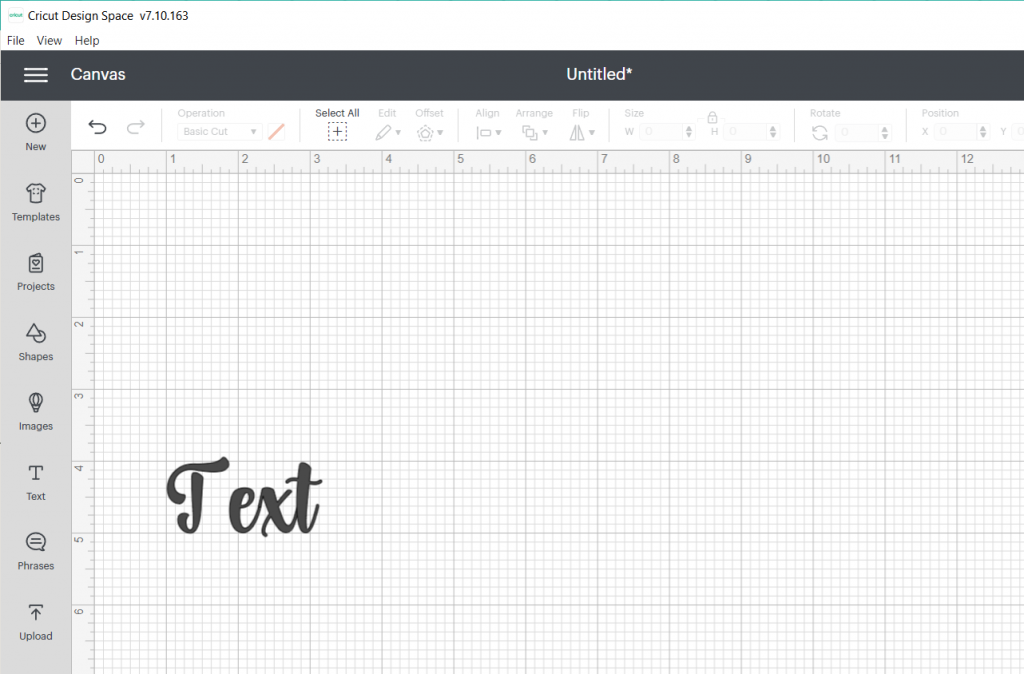
Type Your Text
Highlight the text box and delete the word “text.”
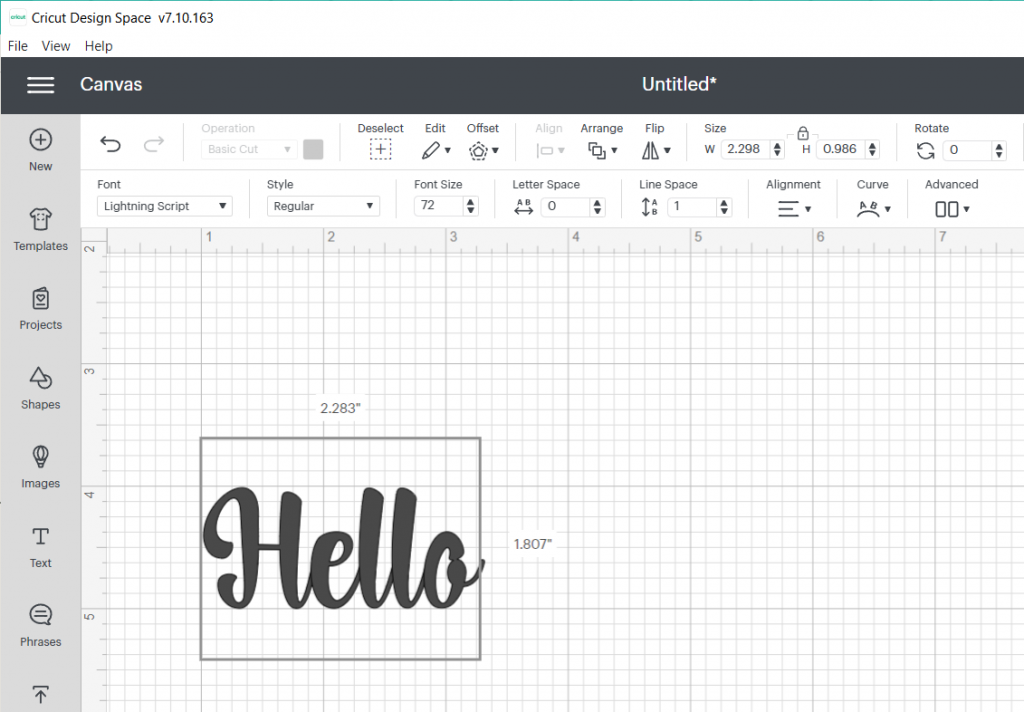
Now, type your new text! A single word or a phrase- it’s totally up to you!
Use the Text Edit Bar to increase or decrease the Font Size.
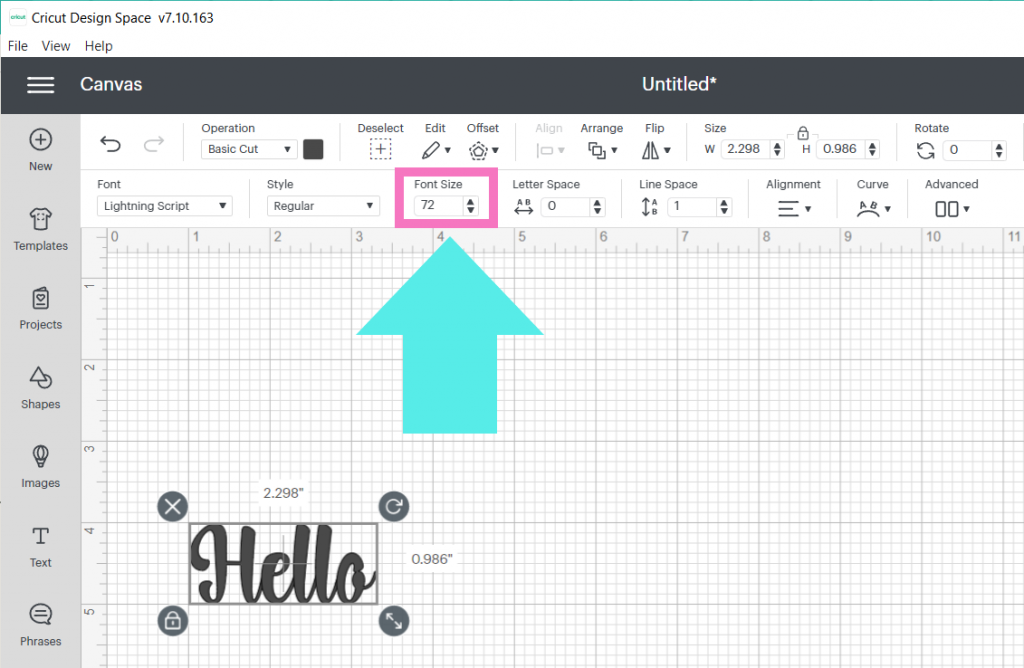
Additionally, you can use the double arrow to make your text bigger or smaller too!
And that’s it! A basic overview of working with Text and how to add fonts to Cricut Design Space!
Now that you know how easy it is to add fonts to Cricut Design Space, what projects are you going to make? Tell me in the comments!
Have a Cricut question or tutorial you’d like me to write on? Let me know! I’d love to help!